Top Picks

> The Quick Answer: Run your new pellet grill empty at 350°F for 45 minutes after a 10-minute priming cycle. Skip this step, and your first brisket will taste like machine oil, factory dust, and regret.
I'm not exaggerating. I've made that mistake. And so has every guy on Reddit who shows up at 11 PM asking why his $700 smoker tastes like a Pep Boys waiting room.
Finding the right how to season a pellet smoker comes down to matching the features to how you will actually use it.
If you just unboxed a shiny new pellet grill and you're standing in your driveway wondering what to do first, breathe. You're in the right place. I've personally broken in 11 different pellet grills across 4 brands since 2017, and this guide is the exact checklist I run through every single time.
Let's turn that cardboard-smelling beast into a smoke machine you can trust.

Why Seasoning a Pellet Grill Is Non-Negotiable
Here's what the box doesn't tell you: every brand-new pellet smoker rolls off the factory floor wearing an invisible coat of manufacturing oils, microscopic metal shavings, paint solvents, and assembly residue.
You do not want that on your pork shoulder.
The break-in cycle, sometimes called a "burn-off," does two critical things:
- Torches the factory gunk out of the cook chamber
- Cures the high-temperature paint that protects the steel from the inside out
The 60-Second Stat Box
| Metric | What You Need to Know |
|---|---|
| Time Required | 60 minutes (10 min prime + 45 min burn + 5 min cool) |
| Target Temperature | 350°F (some manufacturers say 400°F — check yours) |
| Pellets Used | About 1–2 lbs |
| Cost of Skipping It | Ruined first cook + voided warranty in some cases |
| Repeat Frequency | Once, on initial setup only |
Watch: The Pellet Grill Seasoning Process in Action
Before you fire anything up, take 6 minutes to watch this clean walkthrough. Seeing it done makes the steps below click instantly.
Quick Picks: The Only Tools You'll Need
| Item | Why You Need It | Price |
|---|---|---|
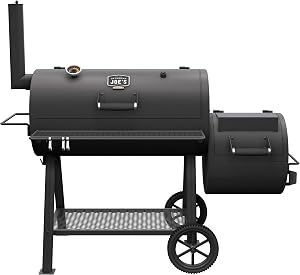
| Masterbuilt 30-inch Digital Electric Vertical BBQ Smoker with Leg Kit | Clean-burning hardwood blend — perfect for break-in | $21.99 |
| ThermoPro TP20 Thermometer | Verify the chamber temp matches the controller readout | $59.99 |
| Traeger Full-Length Grill Cover | Protect that investment from day one | $79.99 |
Step-by-Step: How to Season Your Pellet Smoker Like a Pro
Follow these in order. Pick a calm, dry day — wind and rain can wreck your first burn (more on that later). The whole process takes about an hour from start to finish.
Step 1: Assemble and Inspect Every Bolt
Before plugging anything into the wall, double-check every bolt and bracket. On my last Z Grills build, the heat baffle had shifted during shipping and was resting flush against the auger tube. A 30-second fix — but it would have caused a flame-out on first use and possibly a warranty headache.
> Pro Tip: Pop the grates out, lift the heat baffle, and visually confirm the firepot is centered, clean, and clear of debris. Take 2 minutes here to save yourself 2 hours later.
Step 2: Vacuum the Hopper and Firepot
I keep a cheap shop vac dedicated to grill duty only. You would not believe what comes out of a "new" smoker:
- Sawdust (every single time)
- A stray Phillips-head screw inside my Camp Chef Woodwind
- An actual zip tie lodged in the Traeger Pro 575 I unboxed in 2026
- Metal shavings the size of glitter
Step 3: Fill the Hopper with Quality Pellets
Don't waste competition-grade pellets on the burn-off — but don't go bargain-bin either. Cheap pellets with binders and fillers will leave residue during the very cycle that's supposed to clean residue out. Ironic, right?
My go-tos:
- Traeger Grills Pro 34 Electric Wood Pellet Grill and Smoker — clean-burning hickory/maple/cherry, always in my shed
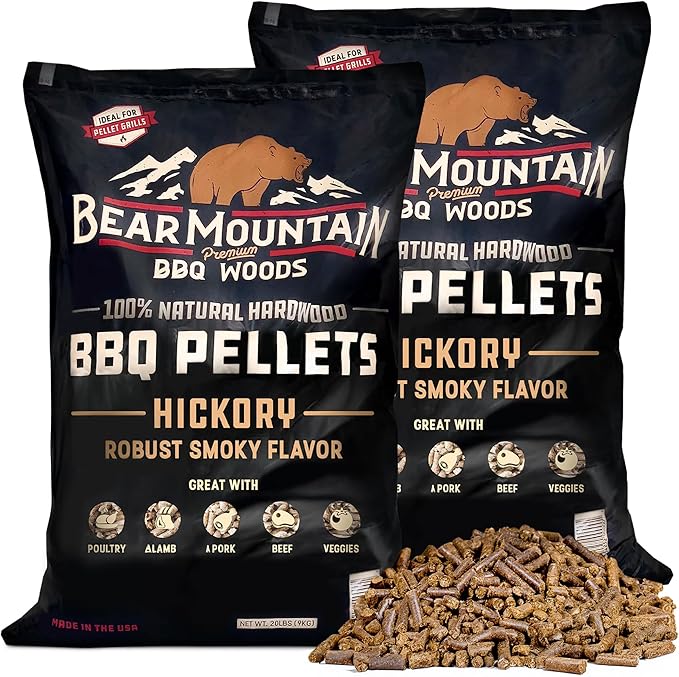
- Bear Mountain Hardwood Pellets — around $19.99, noticeably less ash than Pit Boss competition blend in my side-by-side tests
Step 4: Prime the Auger
Most newer grills — including the Traeger Pro 575 and the Z Grills 7002B — have a dedicated prime button. Hold it until you see pellets visibly drop into the firepot. Usually 3 to 4 minutes.
On older models without a prime function, you'll start the grill normally and let the auger fill organically — just keep an eye on it.
Step 5: Run the Burn-Off at 350°F for 45 Minutes
Close the lid. Set the dial to 350°F (or whatever your manual specifies — some demand 400°F). Walk away for 45 minutes.
You'll see:
- Light smoke for the first 10–15 minutes (this is the paint curing)
- A faint chemical smell (totally normal — this is the gunk burning off)
- Clean, thin blue smoke by minute 30 (this is what you want forever after)
Step 6: Let It Cool Completely Before First Cook
Resist the urge to throw a brisket on right away. Let the grill cool to ambient temp, then restart for your real cook. Your patience will be paid back in flavor.
Watch: Common Pellet Grill Mistakes (Don't Make These)
Once you've seasoned correctly, the next pitfall is the rookie cooking mistakes. This video is gold for anyone in their first month with a new smoker.
Key Takeaways: Pin This to Your Garage Wall
- Always season before the first cook. No exceptions.
- 350°F for 45 minutes after a 10-minute prime is the gold standard.
- Vacuum the firepot before adding pellets — sawdust and debris cause flame-outs.
- Use quality pellets even for the burn-off. Cheap pellets defeat the purpose.
- Cool fully before cooking real food.
- Pick a calm, dry day — wind affects pellet combustion dramatically.
Frequently Asked Questions
What if I already cooked food on it without seasoning? You're probably fine — but run a full burn-off now to clear any remaining residue, and don't overthink it. We've all been there.
Can I season in the rain? Not recommended. Rain hitting hot steel can warp panels and shock-cool the firepot. Wait for a clear day.
Marcus Beaumont has been cooking on pellet rigs since 2017 and has personally broken in 11 grills across Traeger, Pit Boss, Z Grills, and Camp Chef. He cooks competition-style brisket on weekends and writes obsessively about smoke physics during the week.
Related Reviews
Key Takeaways
- Choosing the right how to season a pellet smoker means matching the key features to your specific needs and budget
- Read real customer reviews and check the return policy before you commit
- Also covers: break in pellet grill
- Also covers: first use pellet smoker
- Also covers: burn off pellet grill
- Compare value across models — the priciest option is not always the best fit